A new home can look clean at first glance and still hide dust, grease, limescale, pet hair, and old grime in the places you touch every day. The best time to deal with it is before the boxes arrive, while rooms are empty and every corner is easy to reach.
This Deep Cleaning Before Moving Into a New Home Checklist walks through what to clean, what to do first, and how to avoid wasting effort. Start high, finish low, and leave the floors until last.
Gather Your Supplies Before Starting Your Deep Cleaning
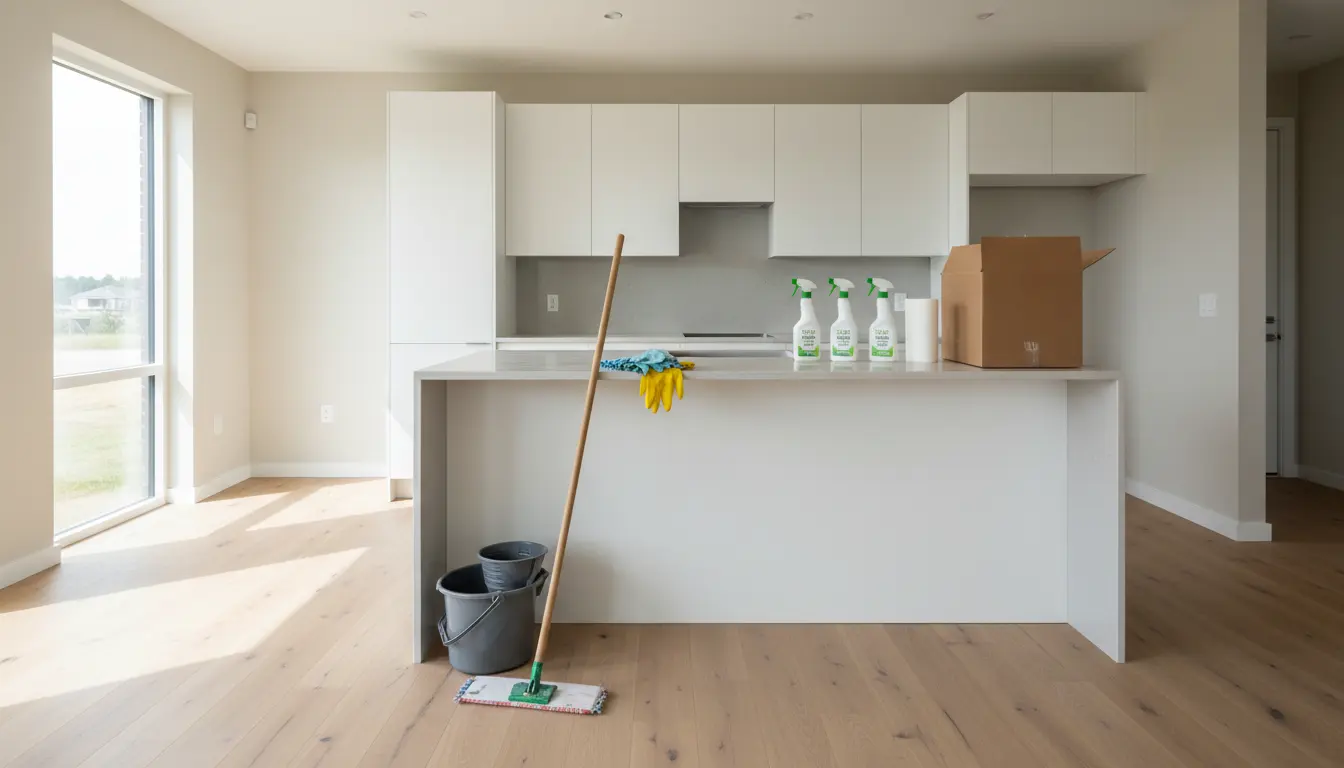
Deep cleaning takes longer when supplies are scattered across boxes. Put everything in one caddy or bucket so it can move room to room with you.
Useful basics include:
- Microfibre cloths
- Sponges and non-scratch scrubbers
- Rubber gloves
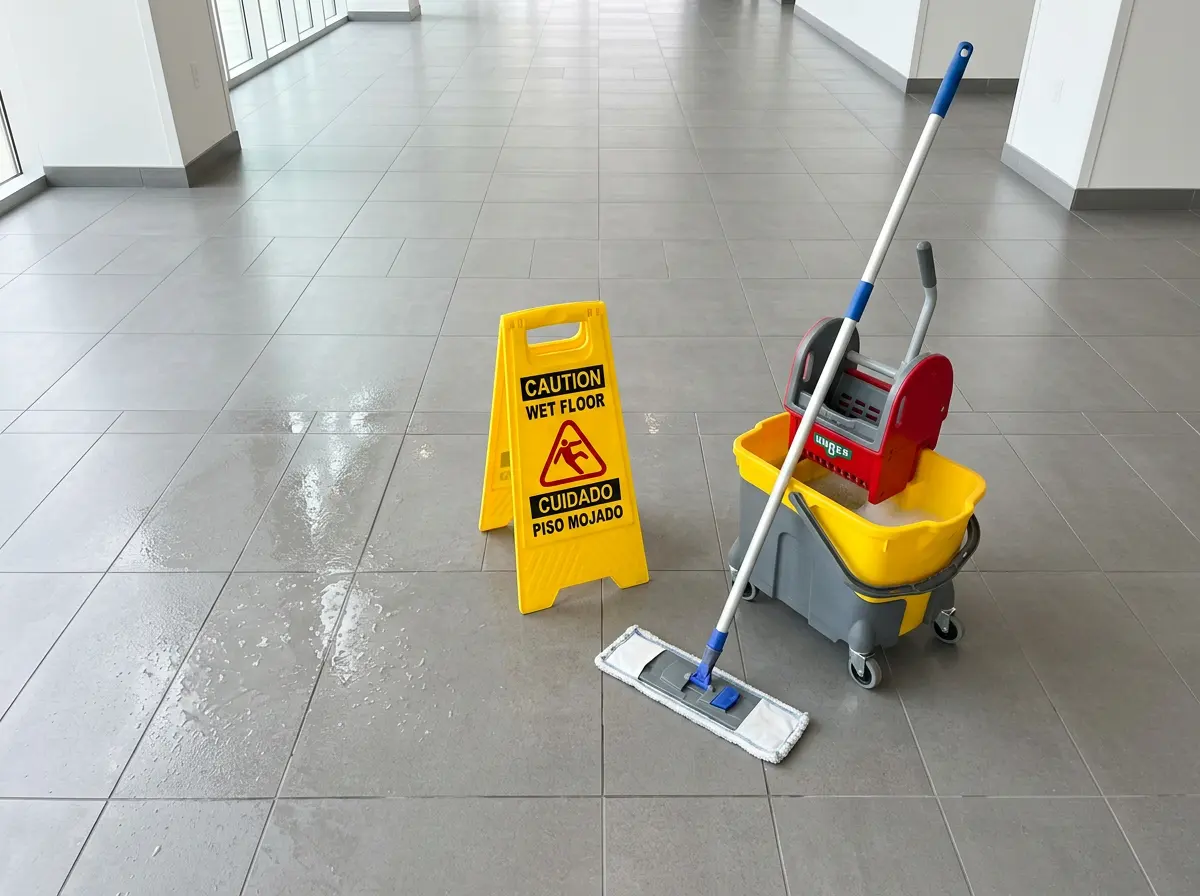
- Mop and bucket
- Vacuum cleaner with attachments
- All-purpose cleaner
- Glass cleaner
- Descaler or white vinegar
- Baking soda
- Disinfectant
- Bin bags
- Old toothbrushes for tight gaps
- Step ladder
If the home has been empty for a while, bring extra bin bags, kitchen roll, and a torch. Empty properties can collect cobwebs, dust, and small debris in cupboards, vents, and behind appliances.
A simple rule helps with the order of work: clean dry areas before wet areas, and clean from top to bottom. That way, falling dust does not land on surfaces you have already washed.
Start with the whole-home reset
Before tackling individual rooms, give the full property a basic reset. Open windows where safe to let in fresh air, then remove obvious rubbish, leftover items, and loose debris.
Focus on the fixed features that run through the whole home:
- Light switches and plug sockets
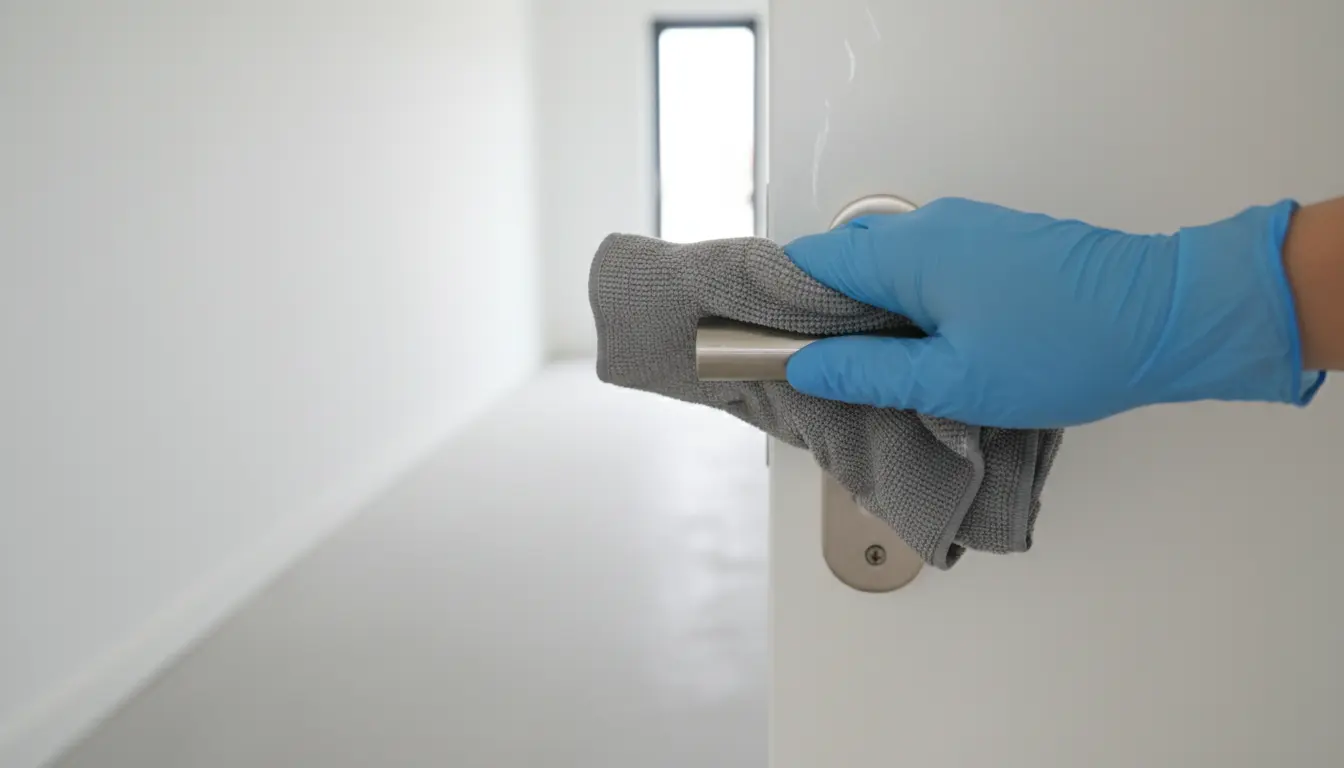
- Door handles and door frames
- Skirting boards
- Window sills and frames
- Radiators
- Built-in shelves
- Wardrobes and storage cupboards
- Air vents and extractor covers
- Stairs and bannisters
Use a vacuum attachment on corners, ceiling edges, and vents before wiping surfaces. If walls are washable, spot-clean marks with a damp cloth and mild cleaner. Test a hidden patch first, especially on painted walls.
Do not forget keys, alarm panels, window handles, and cupboard pulls. These are high-touch areas, and they often need more attention than they seem to.
Clean the kitchen before any food is unpacked
The kitchen should be one of the first rooms to clean because it will handle food, dishes, and daily routines straight away. Empty cupboards make this job much easier.
Work through these areas:
- Inside cupboards and drawers
- Cabinet doors and handles
- Worktops and splashbacks
- Sink, taps, and draining board
- Hob and extractor fan
- Oven, trays, and racks
- Fridge and freezer
- Dishwasher seal and filter
- Washing machine drawer and seal, if fitted
- Bins and bin storage area
Grease often builds up on cabinet tops, extractor filters, tiles, and around the hob. Use a suitable degreaser, then rinse with a clean damp cloth. For limescale around taps, apply descaler or vinegar, leave it briefly, then scrub gently.
If the fridge or freezer smells stale, clean it with warm soapy water, dry it fully, and leave the doors open for a while. Avoid strong chemical smells where food will be stored.
Tip: line hard-to-reach cabinet tops after cleaning. Paper or washable liners can catch future dust and grease, making the next clean easier.
Give bathrooms a proper scrub
Bathrooms need detailed cleaning, even if they look recently wiped down. Moisture hides grime around seals, drains, tiles, and fittings.
Start with ventilation. Open a window or switch on the extractor fan. Then clean:
- Toilet seat, hinges, rim, base, and flush handle
- Sink, taps, and plughole
- Bath and shower tray
- Shower screen or curtain rail
- Tiles and grout
- Mirror and glass
- Extractor fan cover
- Bathroom cabinets
- Towel rails and radiators
- Floor edges and behind the toilet
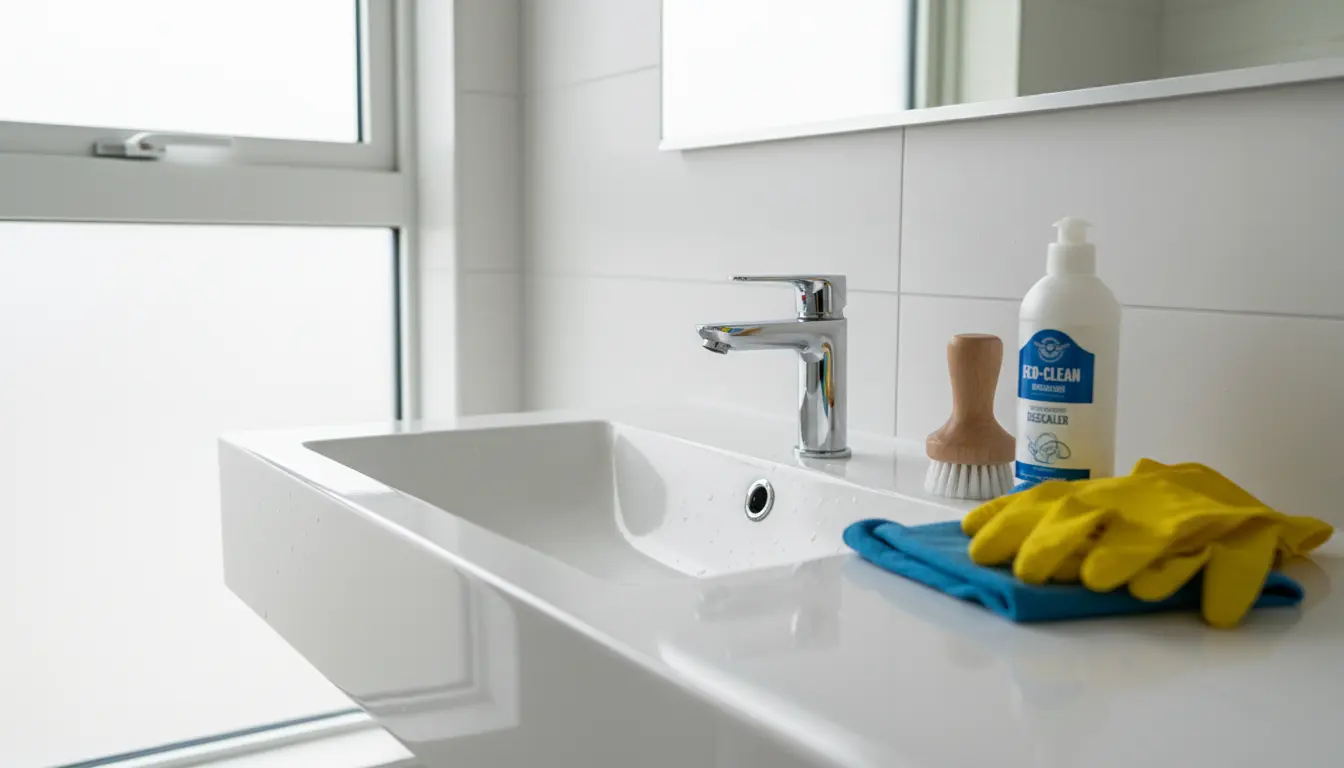
Use a descaler on taps, showerheads, and glass where hard water marks have built up. An old toothbrush works well around tap bases and grout lines.
Check silicone seals around baths and showers. If they are blackened, loose, or cracked, cleaning may not solve the problem. Replacing old sealant before moving in can prevent leaks and make the room feel fresher.
Finish bedrooms and living spaces with dust and floors
Bedrooms, sitting rooms, halls, and landings may not need heavy scrubbing, but they collect dust in soft corners and along edges.
Work through each room in this order:
- Vacuum ceiling corners and cobwebs.
- Dust light fittings, picture rails, shelves, and wardrobes.
- Wipe window sills, frames, and handles.
- Clean inside built-in storage.
- Wipe skirting boards and door frames.
- Vacuum carpets or hard floors.
- Mop hard floors after vacuuming.
If carpets were left by previous occupants, vacuum slowly and use the crevice tool along walls. For strong odours, visible staining, or pet hair, arrange a professional carpet clean before furniture goes in. It is much easier when rooms are empty.
For wooden or laminate floors, avoid soaking them. Use a damp mop, not a wet one, and choose a cleaner that suits the floor type.
Check the hidden places before you unpack
Some spots only get noticed after furniture is in place. Clean them now while access is simple.
Pay attention to:
- Behind and under appliances
- Meter cupboards
- Attic hatch edges
- Under stairs storage
- Boiler cupboard floor
- Window tracks
- Wardrobe rails
- Curtain poles and blinds
- Under sinks
- Around pipework
This is also the right time to check for small maintenance issues. Look for slow leaks, poor ventilation, loose handles, cracked tiles, damp smells, or signs of pests. Cleaning often reveals these problems early.
If a surface smells musty again soon after cleaning, look for the source rather than masking it with air freshener.
Use this final moving-in cleaning checklist
Before unpacking, do one last walk-through with this quick list:
- Kitchen surfaces disinfected
- Cupboards and drawers wiped inside
- Fridge and freezer cleaned and dry
- Oven, hob, and extractor cleaned
- Bathroom fittings descaled
- Toilet cleaned fully, including hinges and base
- Storage areas vacuumed and wiped
- Door handles and switches cleaned
- Windowsills and frames wiped
- Radiators dusted
- Floors vacuumed and mopped
- Bins emptied
- Cleaning cloths washed or disposed of
- Rooms aired out
A deep clean before moving in does more than make the place look better. It gives you a fresh starting point, helps you spot problems early, and makes unpacking feel calmer. Once the cleaning is done, the home is ready for the part that matters most: setting it up for real life.
Ready to move into a fresh, spotless home? Book professional deep cleaning with Effective Cleaning Services or visit our website to view our full range of cleaning services.